> ## Documentation Index
> Fetch the complete documentation index at: https://docs.leaderos.net/llms.txt
> Use this file to discover all available pages before exploring further.
# Plesk
> Check the system requirements before installation.
Before starting the installation process, make sure your domain nameservers/DNS are configured. Otherwise, you would not be able to access to the website.
Learn how to configure your domain nameservers/DNS [here](/configuring-dns).
### 1) Download the LeaderOS software.
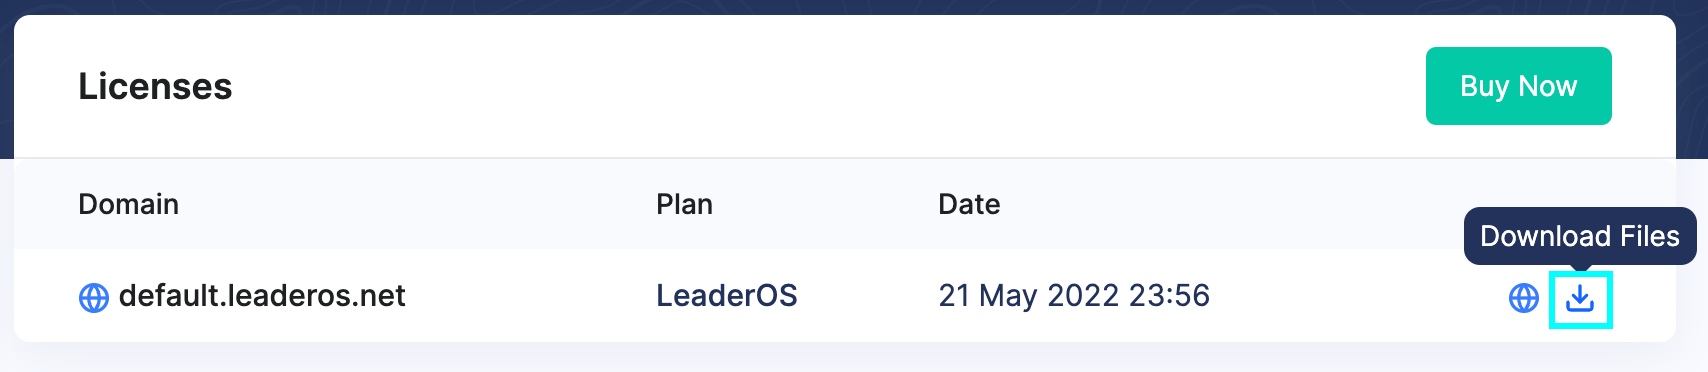
From the LeaderOS website go to [My Account > Licences](https://www.leaderos.net/account/license) page and click the download button to download the .zip file.
 ### 2) Upload the required files to Plesk.
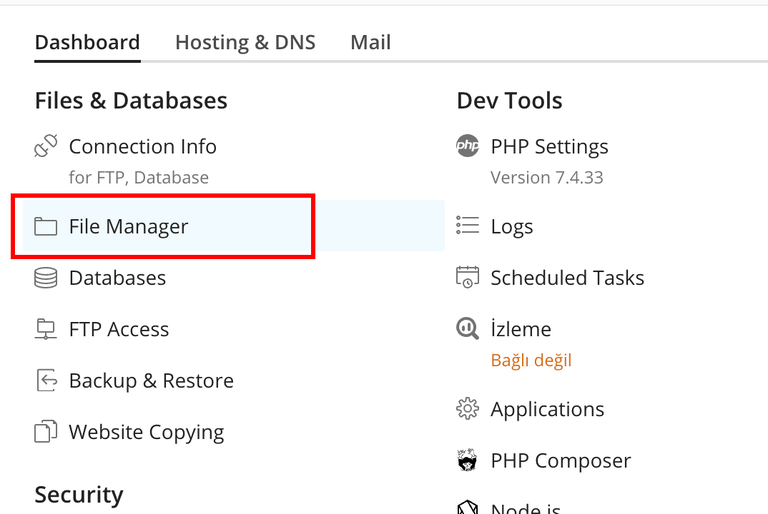
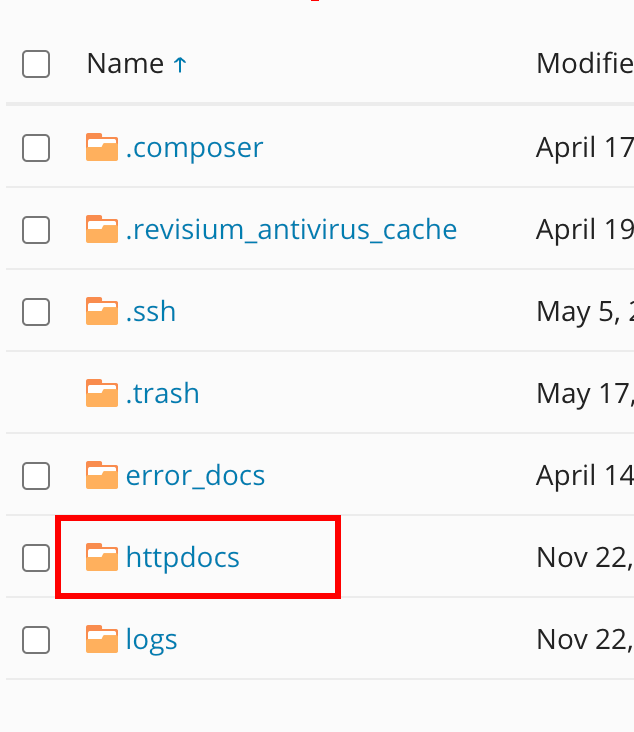
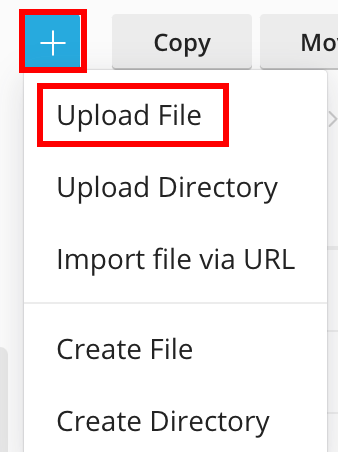
Upload the downloaded .zip file to your Plesk by going to **Plesk > File Manager > httpdocs** and pressing the upload button.
### 2) Upload the required files to Plesk.
Upload the downloaded .zip file to your Plesk by going to **Plesk > File Manager > httpdocs** and pressing the upload button.
 ### 3) Unzip the files.
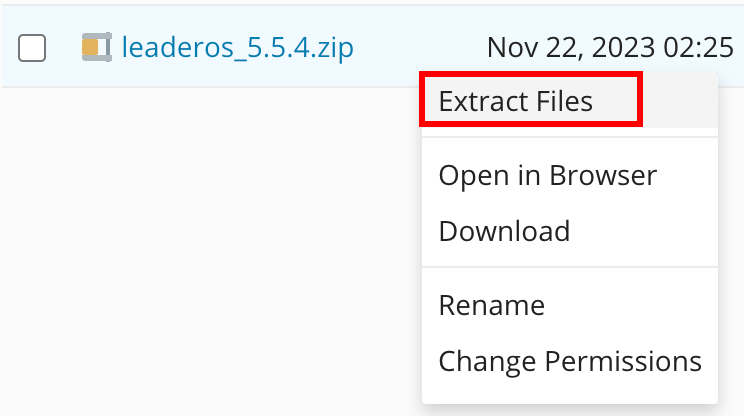
Click to .zip file you just uploaded and press the **"Extract Files"** button to unzip the file.
### 3) Unzip the files.
Click to .zip file you just uploaded and press the **"Extract Files"** button to unzip the file.
 ### 4) Create a database in Plesk.
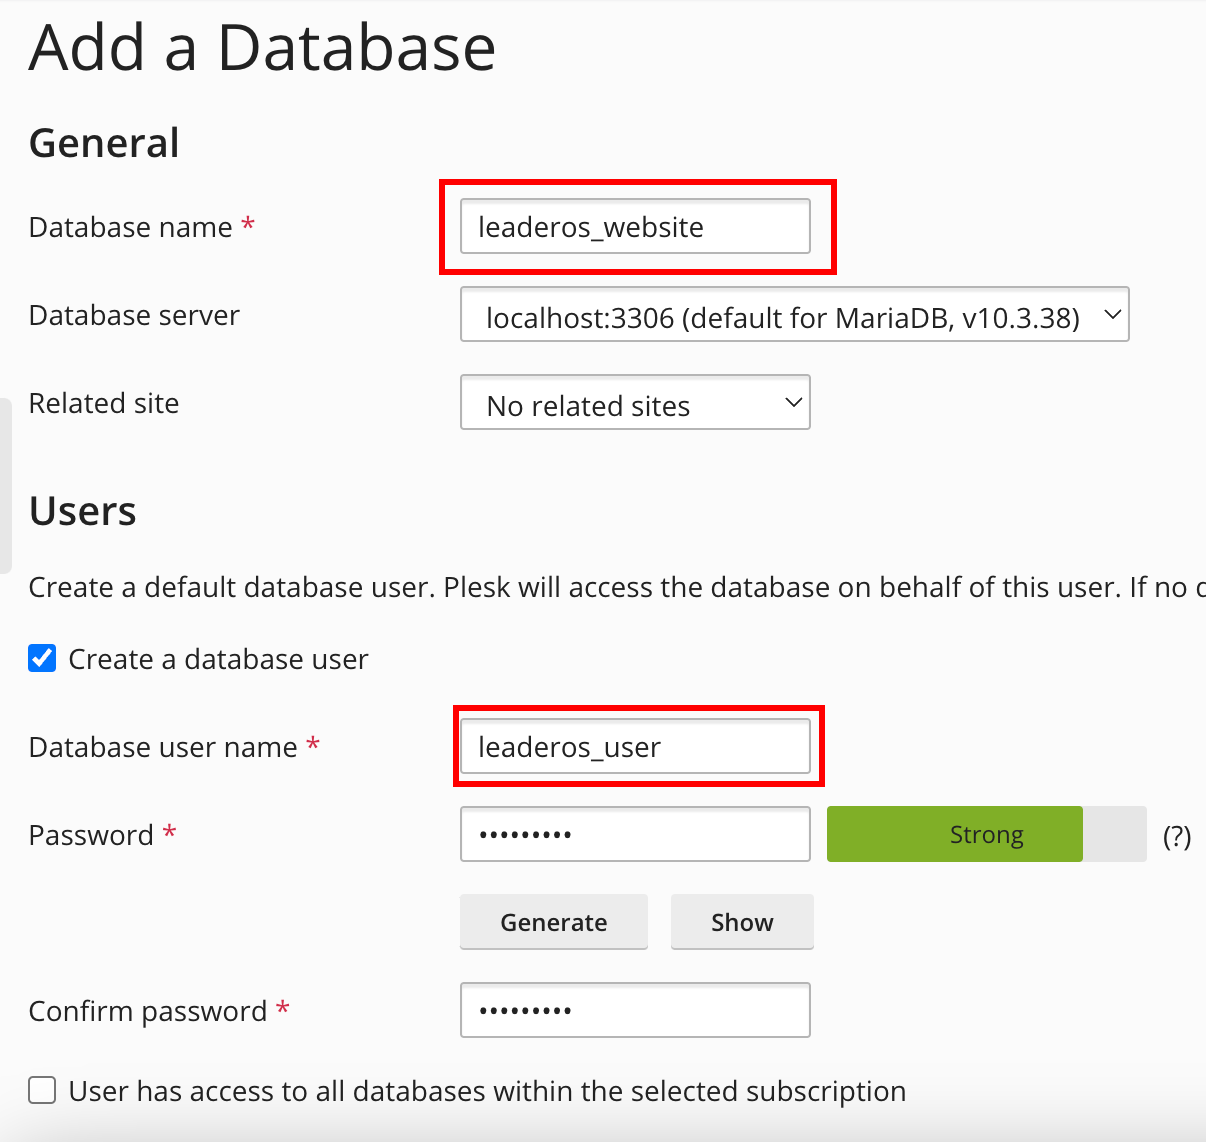
Go to **Plesk > Databases > Add a Database** page. After creating the database, enter its credentials on the setup page.
### 4) Create a database in Plesk.
Go to **Plesk > Databases > Add a Database** page. After creating the database, enter its credentials on the setup page.
 ### 5) Visit your website.
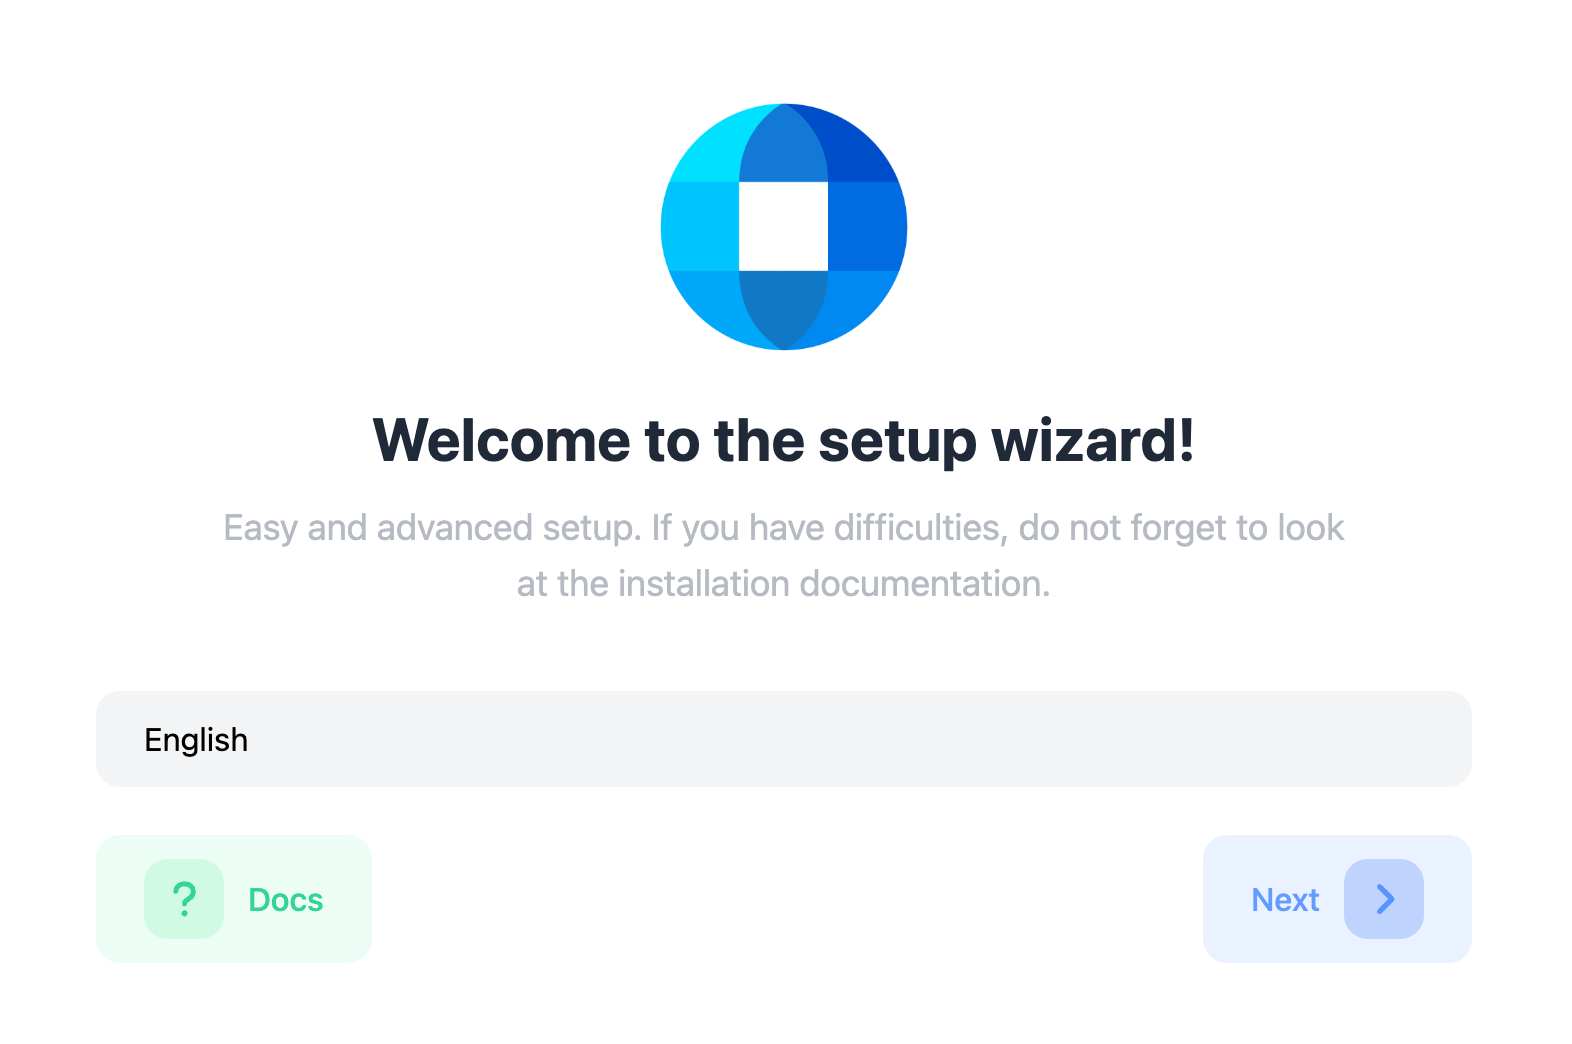
Once you visit your website, it will direct you to the setup page for LeaderOS. Follow the guide to finish the setup. If you cannot view your website, check your DNS configuration by clicking [here](/configuring-dns).
### 5) Visit your website.
Once you visit your website, it will direct you to the setup page for LeaderOS. Follow the guide to finish the setup. If you cannot view your website, check your DNS configuration by clicking [here](/configuring-dns).
 ### 6) Verify your license.
Click the "Verify" button to be redirected to the LeaderOS login screen. Log in with the account that manages the license to verify it.
### 6) Verify your license.
Click the "Verify" button to be redirected to the LeaderOS login screen. Log in with the account that manages the license to verify it.
 ### 7) Check compatibility.
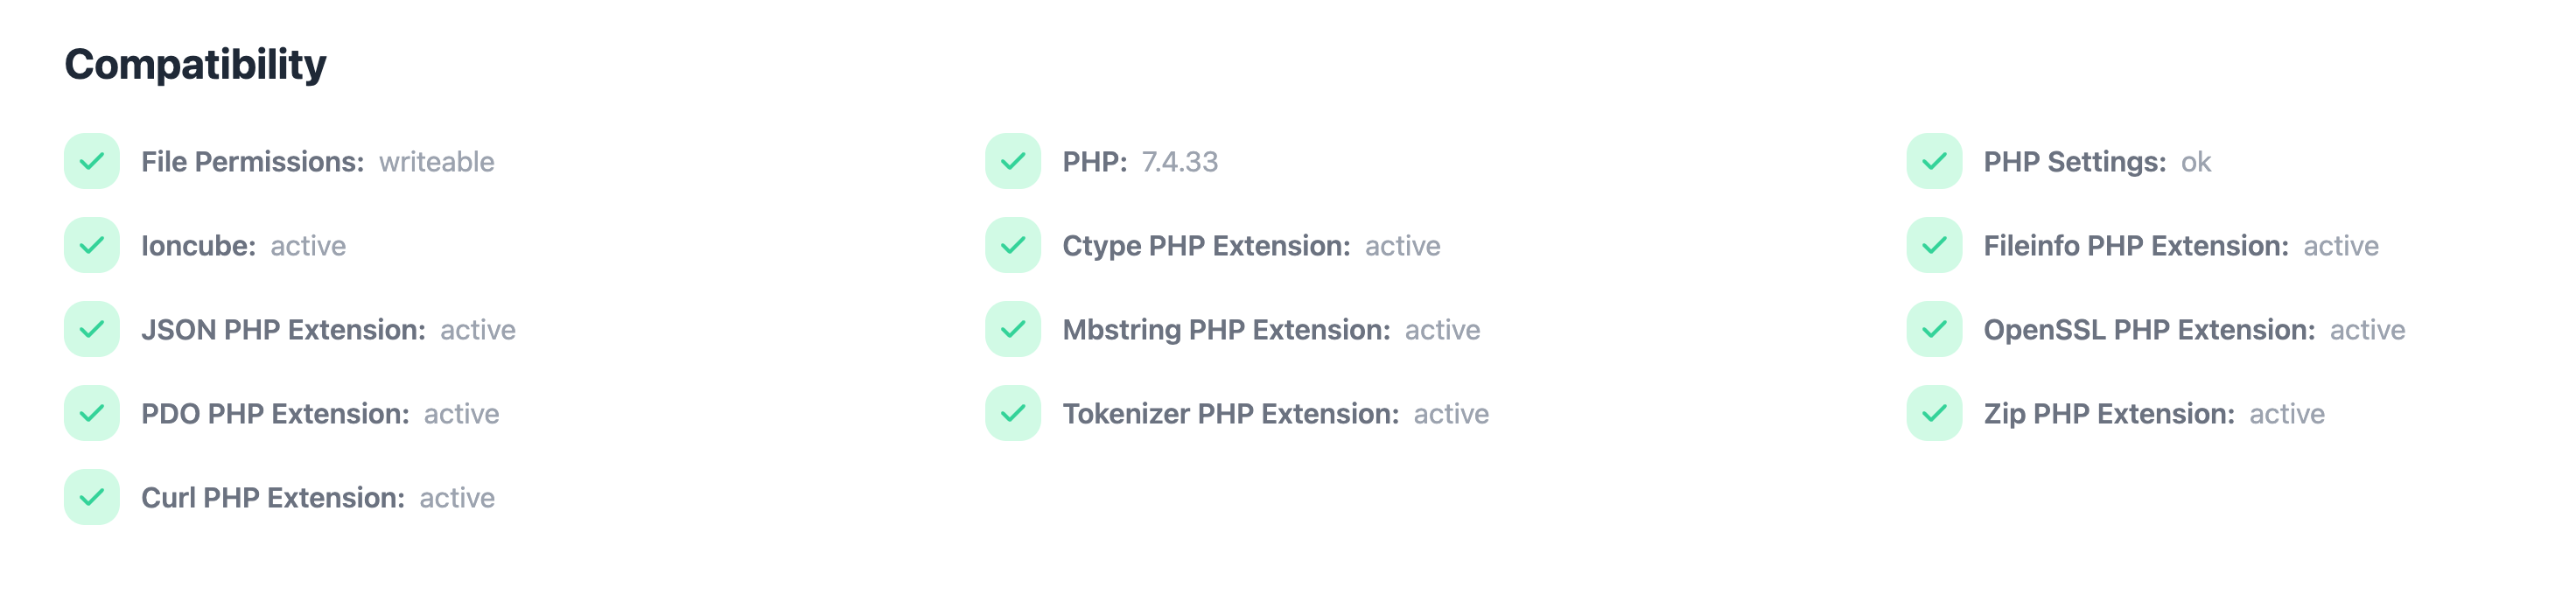
Check for any errors on the compatibility screen. If there are any errors, contact your web hosting provider to check the [System Requirements](/system-requirements).
### 7) Check compatibility.
Check for any errors on the compatibility screen. If there are any errors, contact your web hosting provider to check the [System Requirements](/system-requirements).
 ### 8) Enter your database credentials.
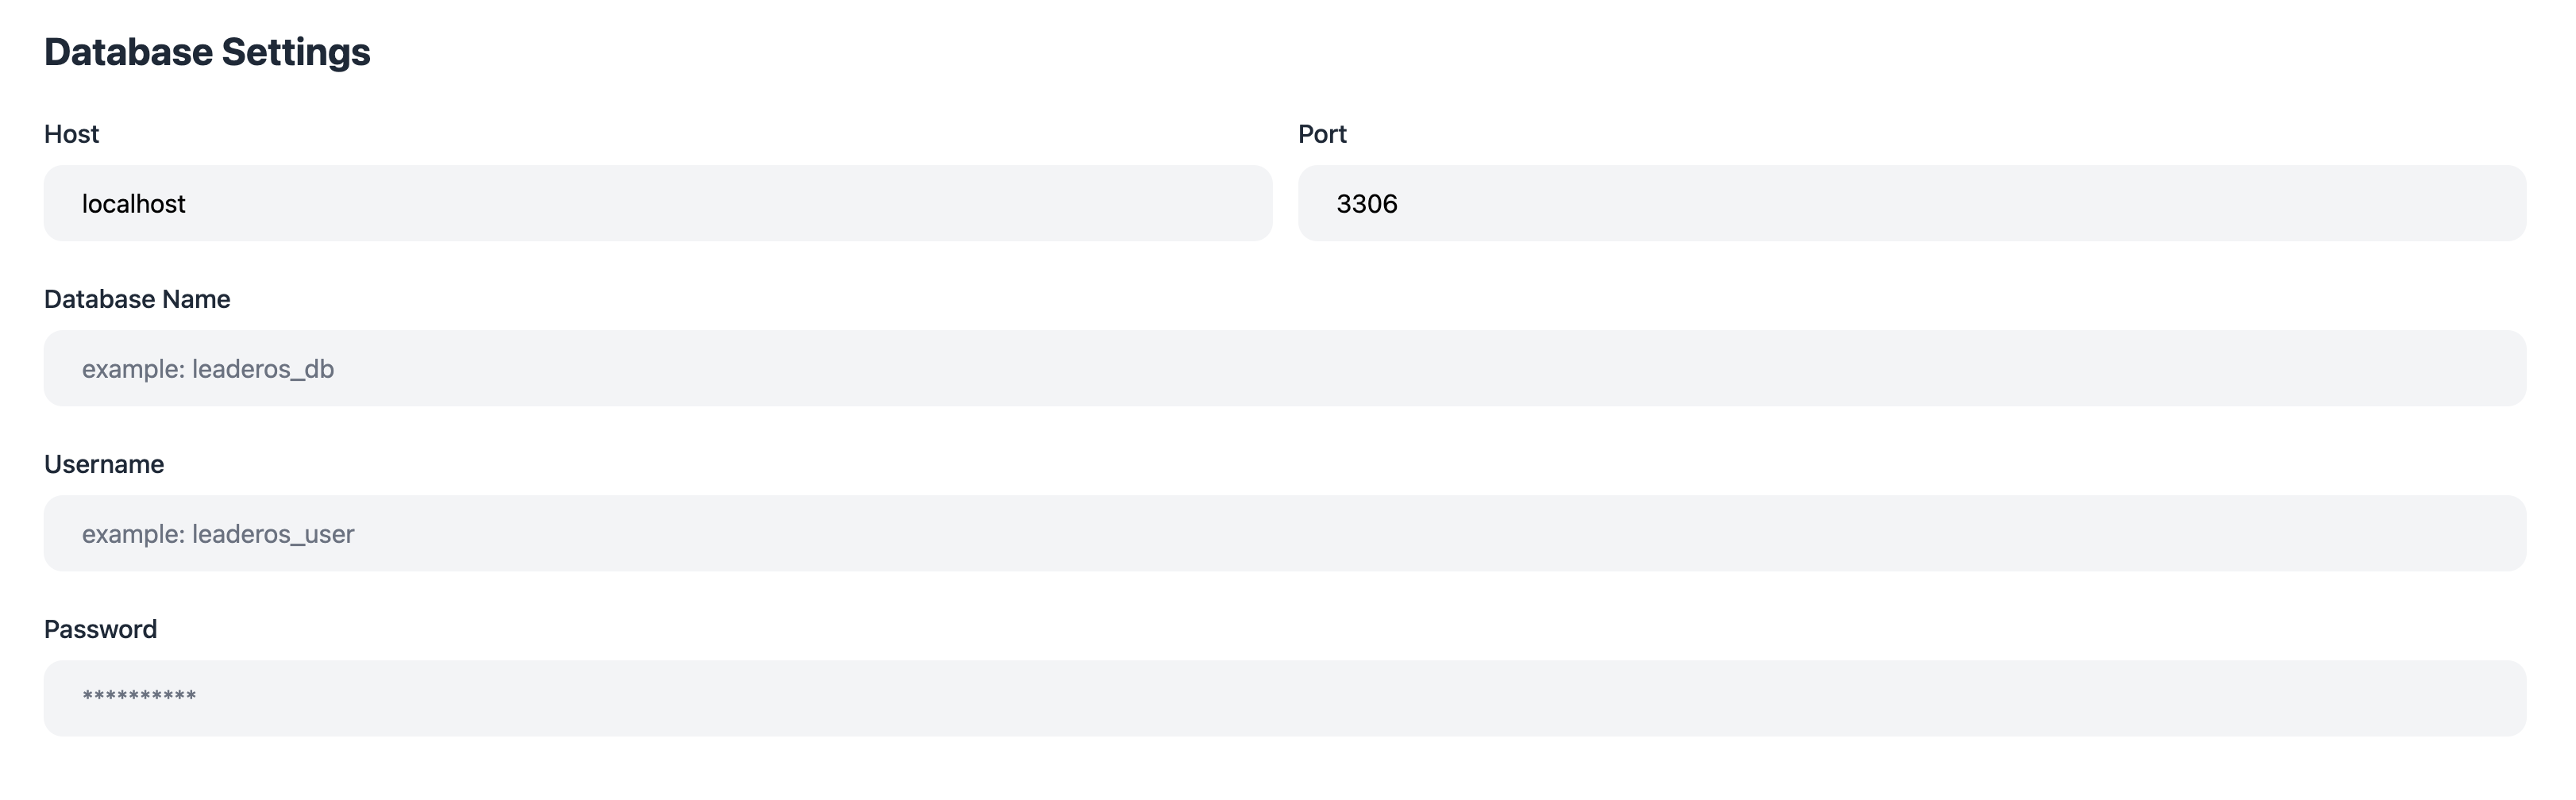
Enter the database credentials you created in [Step 4](#4-create-a-database-in-plesk).
* **Host:** This is the IP address for your database server. Use `localhost` for local databases.
* **Port:** This is usually by default `3306`. If it is different, use that port.
* **Database Name:** The name of the database you created. For example, `leaderos_website`
* **Username:** The database user. For example, `leaderos_user`
* **Password:** The password for the database user.
### 8) Enter your database credentials.
Enter the database credentials you created in [Step 4](#4-create-a-database-in-plesk).
* **Host:** This is the IP address for your database server. Use `localhost` for local databases.
* **Port:** This is usually by default `3306`. If it is different, use that port.
* **Database Name:** The name of the database you created. For example, `leaderos_website`
* **Username:** The database user. For example, `leaderos_user`
* **Password:** The password for the database user.
 ### 9) Select a game.
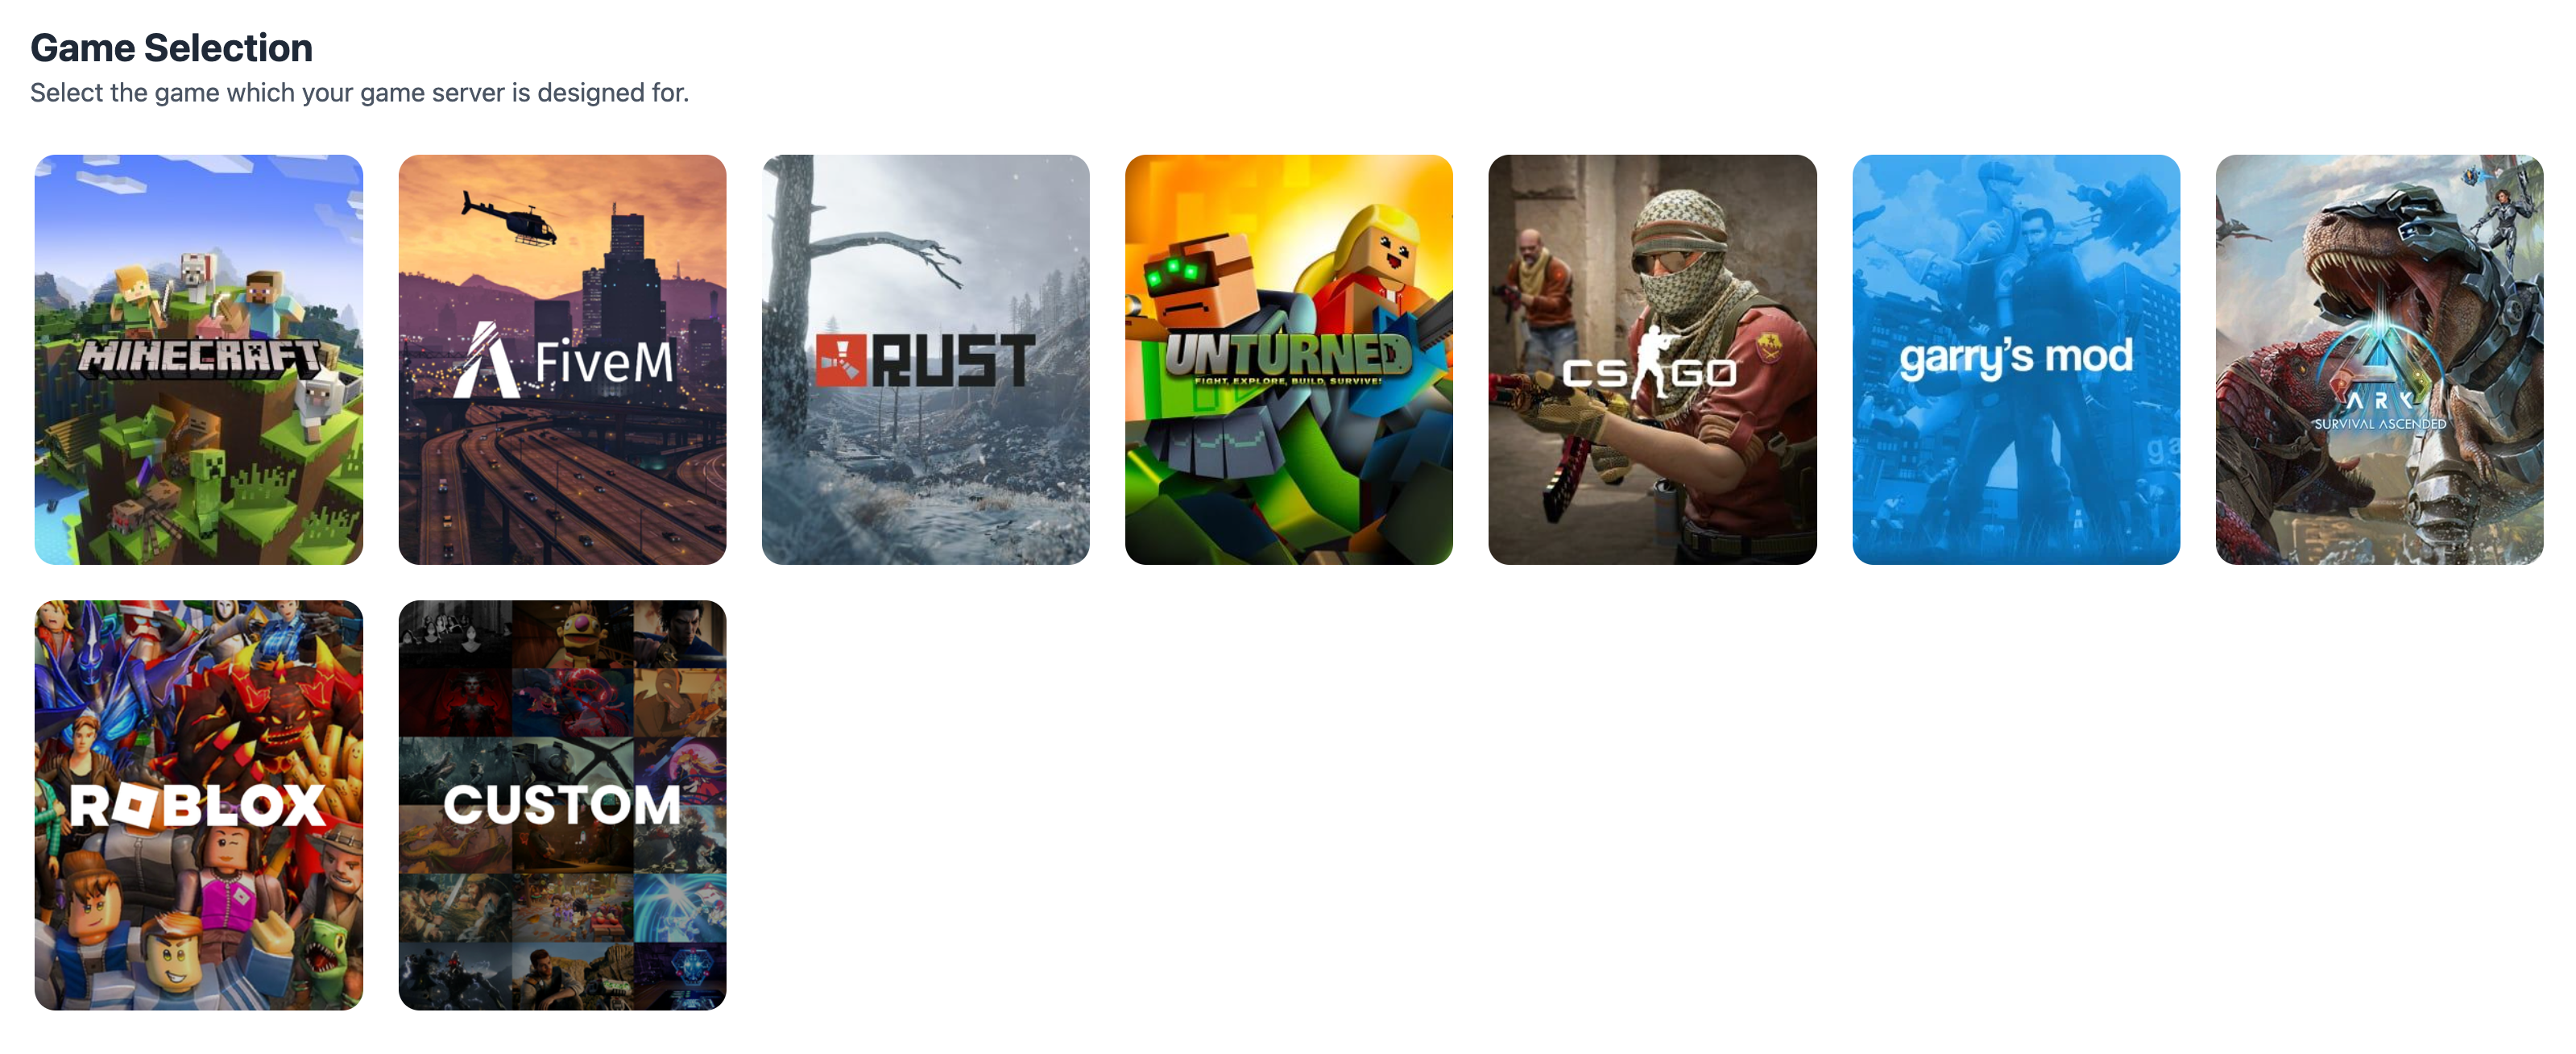
Choose the game you want to use for the website. If your game is not listed, select the "Custom" option.
### 9) Select a game.
Choose the game you want to use for the website. If your game is not listed, select the "Custom" option.
 ### 10) Select a auth provider.
Each game has different auth providers. Click [here](/auth-providers) to learn more about the auth providers.
Once the setup is complete, the selected auth provider cannot be changed!
### 10) Select a auth provider.
Each game has different auth providers. Click [here](/auth-providers) to learn more about the auth providers.
Once the setup is complete, the selected auth provider cannot be changed!
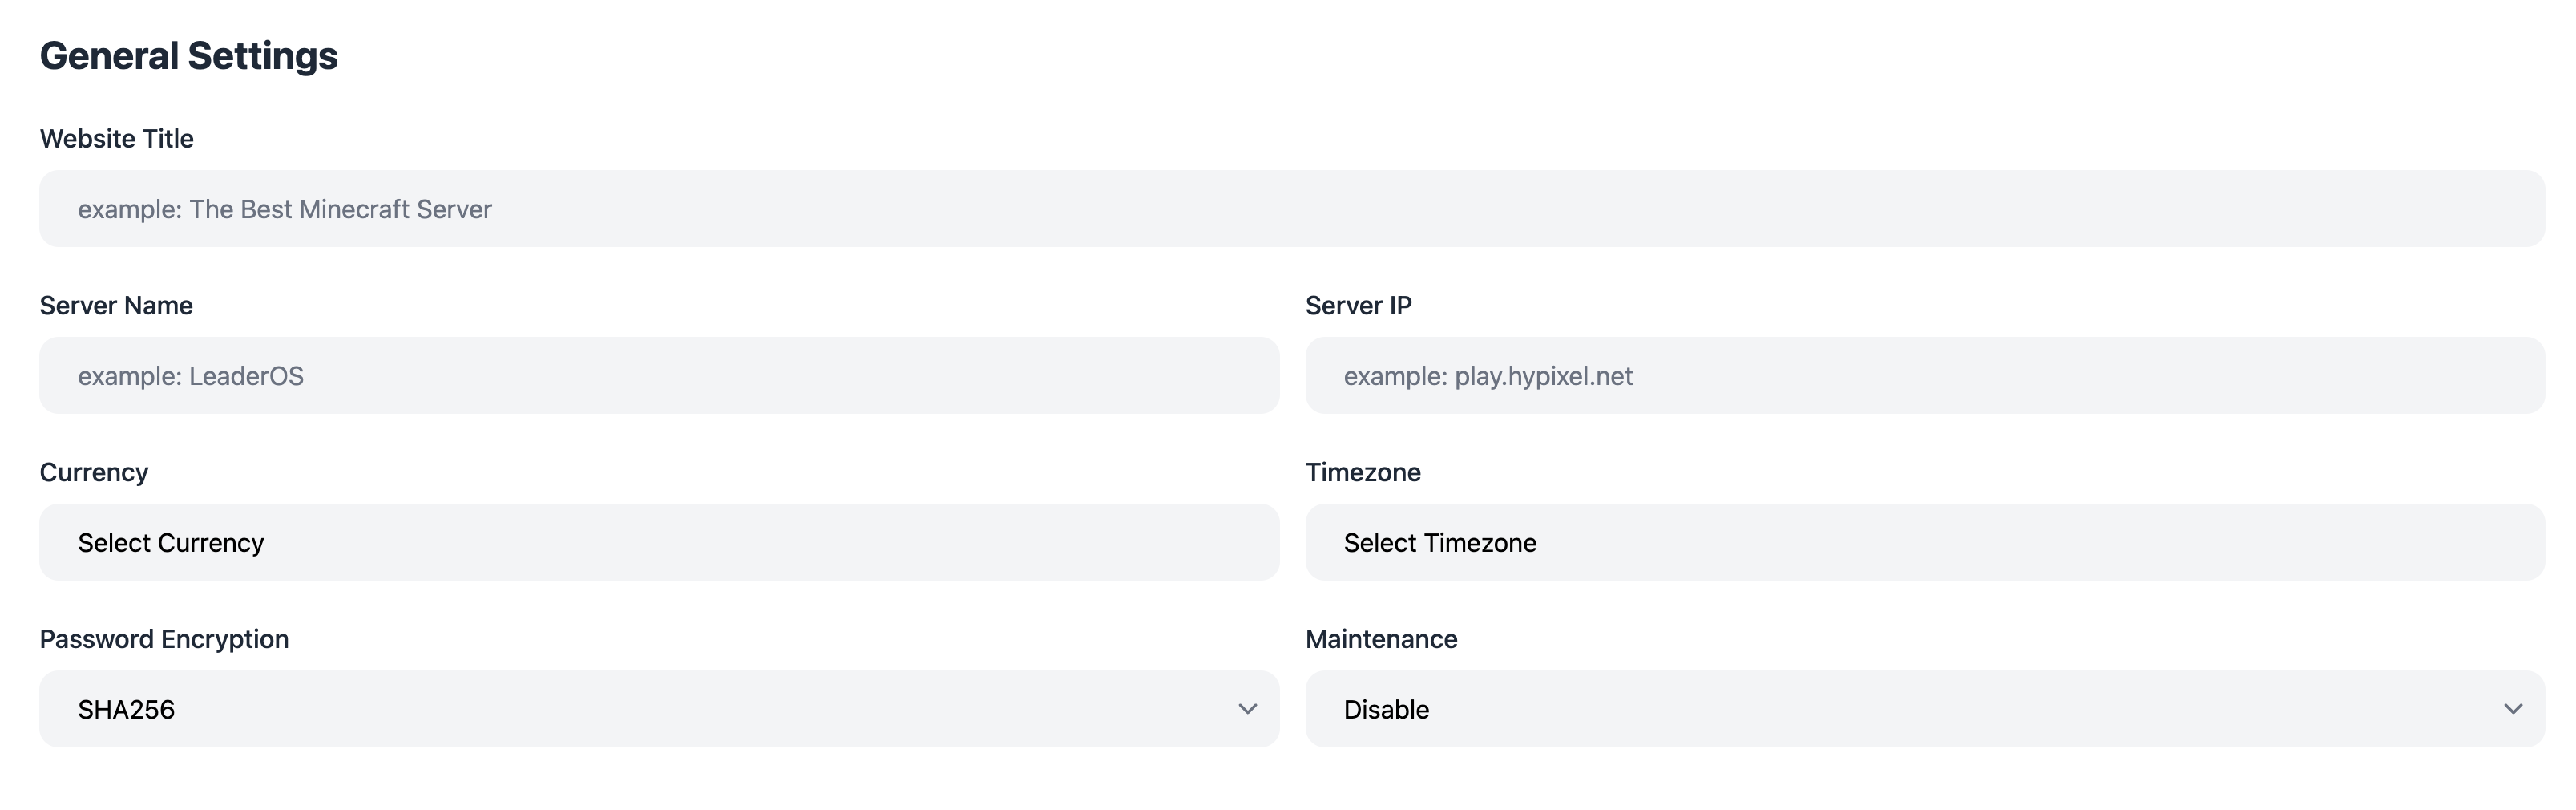
 ### 11) Configure the basic site options.
Enter basic information such as server name, IP address, server version, etc.
### 11) Configure the basic site options.
Enter basic information such as server name, IP address, server version, etc.
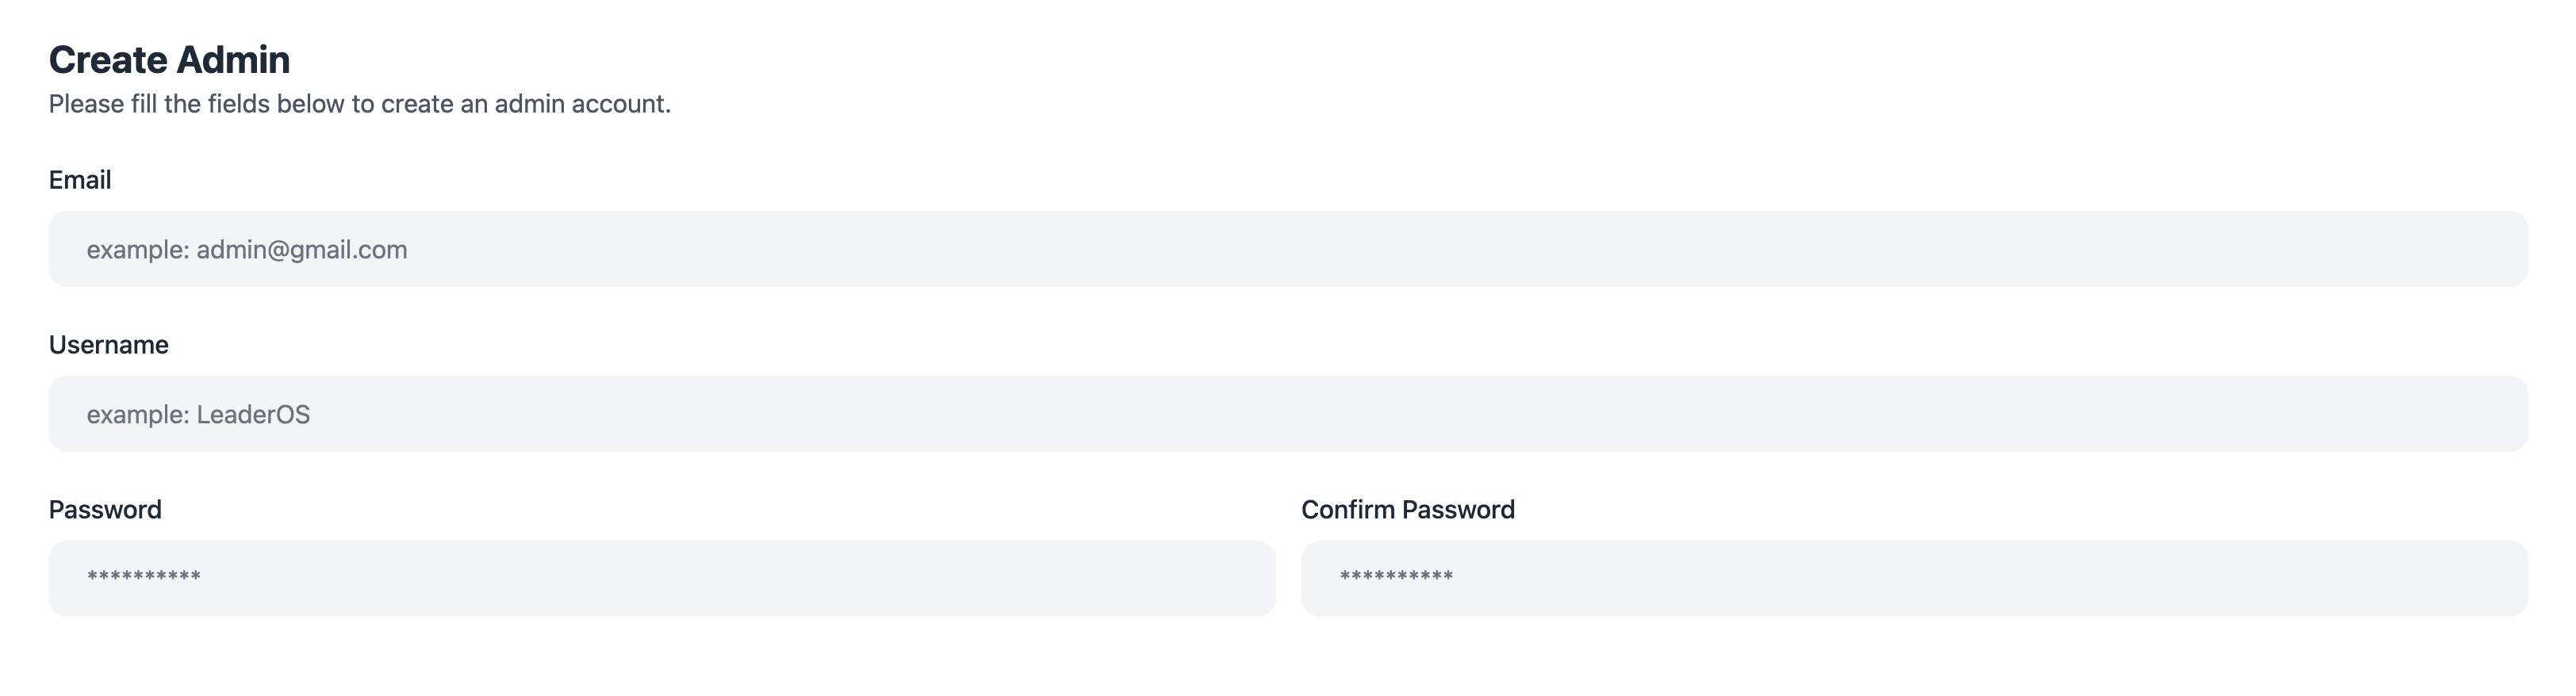
 ### 12) Create an Admin account.
Create an admin account to customize your website after the setup. If you selected the "Username and Password" method, enter the admin account details.
### 12) Create an Admin account.
Create an admin account to customize your website after the setup. If you selected the "Username and Password" method, enter the admin account details.
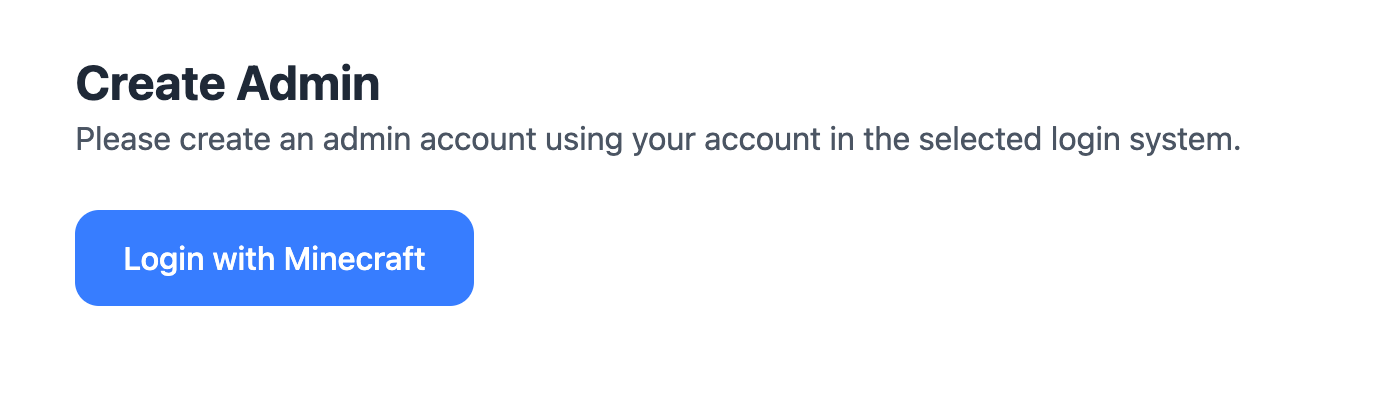
 If you chose a different auth provider, sign in with it to set up the admin account.
 ### 13) Login to the Admin Panel.
Your website is now set up! You can start using it right away. Check out our other articles to learn how to add products, set up payment gateways, and more.
### 13) Login to the Admin Panel.
Your website is now set up! You can start using it right away. Check out our other articles to learn how to add products, set up payment gateways, and more.