
Documentation Index
Fetch the complete documentation index at: https://docs.leaderos.net/llms.txt
Use this file to discover all available pages before exploring further.
Prerequisites
Before proceeding with the installation, ensure you have the following:- A server with Docker and Docker Compose installed.
- A valid domain name with properly configured DNS settings.
- Basic knowledge of Linux and command-line usage.
- An active LeaderOS license.
Step 1: Download the LeaderOS Docker Files
Clone the LeaderOS Docker repository from GitHub:.env: The environment file for configuring the LeaderOS setup.Caddyfile: Contains the reverse proxy configuration for Caddy.nginx: Contains the Nginx configuration files.leaderos: Contains the LeaderOS software files.docker-compose.yml: The main Docker Compose file for setting up the LeaderOS environment.
Step 2: Download LeaderOS Software
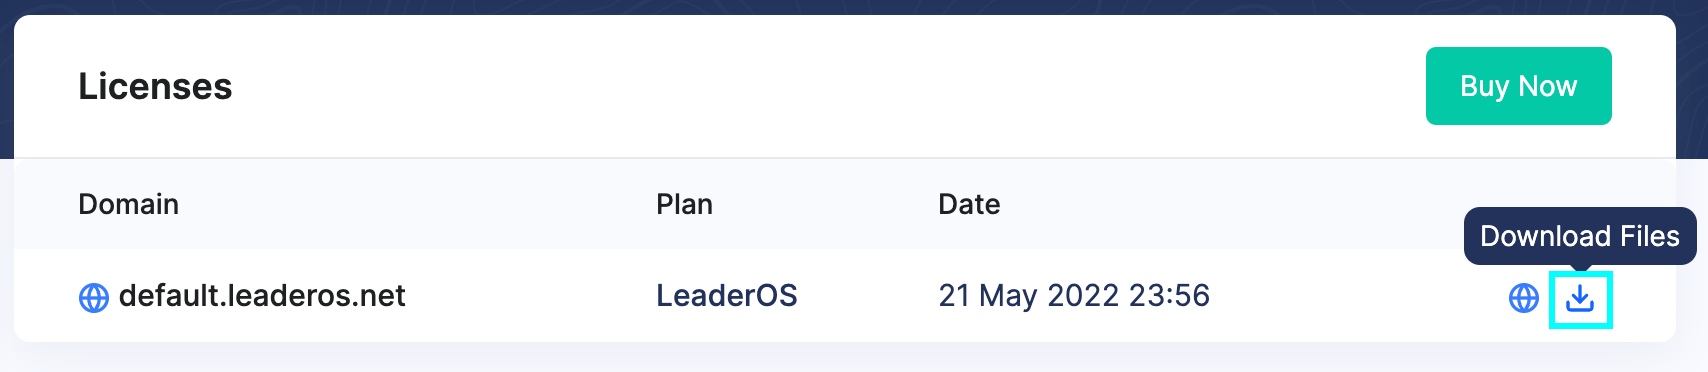
- Log in to the LeaderOS website.
- Navigate to
My Account > Licenses. - Click the Download button to obtain the
.zipfile.
Step 3: Upload LeaderOS Software to Your Server
- Upload the downloaded
.zipfile to your server. - Extract the contents into the
/leaderosdirectory. - Grant the necessary permissions to the
leaderosdirectory:Example:chown -R www-data:www-data /home/myuser/leaderos-docker/leaderos
Step 4: Configure the .env File
Before building the Docker environment, configure the .env file according to your setup.
Step 5: Build and Start Docker Containers
Run the following command to build and start the required containers:.env file.
Step 6: Visit Your Website and Complete the Setup
Once you have completed the above steps, visit your domain in a web browser to access the LeaderOS setup wizard. Follow the on-screen instructions to complete the installation.Troubleshooting
If you encounter issues during installation or operation, consider the following solutions:Permission issues when using docker commands
If you receive a permission error when running docker commands, add your user to the Docker group:sudo.
File permissions error on the setup wizard.
File Permissions: not_writeable:
If you encounter this error during the LeaderOS setup wizard, you need to adjust the permissions of the leaderos directory:
chown -R www-data:www-data /home/myuser/leaderos-docker/leaderos
Database connection issues
SQLSTATE[HY000] [2002] No such file or directory:
If LeaderOS fails to connect to the database, you need to set the database host to mariadb in the Database Settings step.
Docker uses internal networking, so referring to the database service by its container name (mariadb) is required.
SSL certificate issues
With a correctly configured DNS configuration, the SSL certificate is auto-generated by the Caddy server. If the SSL certificate is not reflected on your website, you can try to restart the Caddy server:phpMyAdmin access
If you need to access the database using phpMyAdmin, you need to configure the Caddyfile to enable access to the phpMyAdmin container. Add the following lines to theCaddyfile: