
How to search for a user?
Go to Dashboard > User Management > Users. Here you can search for a user by their username, email, or user ID.How to see user activities?
Go to Dashboard > User Management > Users. Search for the user and click on the Actions > View Profile button. Here you can see the user’s activities. You can see the following activities of a user:- Stats: Shows the user’s leaderboard stats.
- Orders: Shows the user’s order history.
- Chest: Shows the user’s chest items.
- Tickets: Shows support tickets opened by the user.
- Credit Activities: Shows the user’s credit activities.
- Wheel of Fortune Activities: Shows the user’s wheel of fortune activities.
- Gift Activities: Shows the user’s gift activities.
- Chest Activities: Shows the user’s chest activities.
- Bazaar Activities: Shows the user’s bazaar activities.
- Applications: Shows the applications submitted by the user.
How to add roles/permissions to a user?
Go to Dashboard > User Management > Users > Edit User. Here you can assign roles and permissions to the user. If you want to give a permission to a user without giving a role, you can choose the permission from the Permissions section. You can learn more about permissions here.You need to give “View Dashboard” permission to the user to access the dashboard. Without this permission, the user will not be able to access the dashboard.
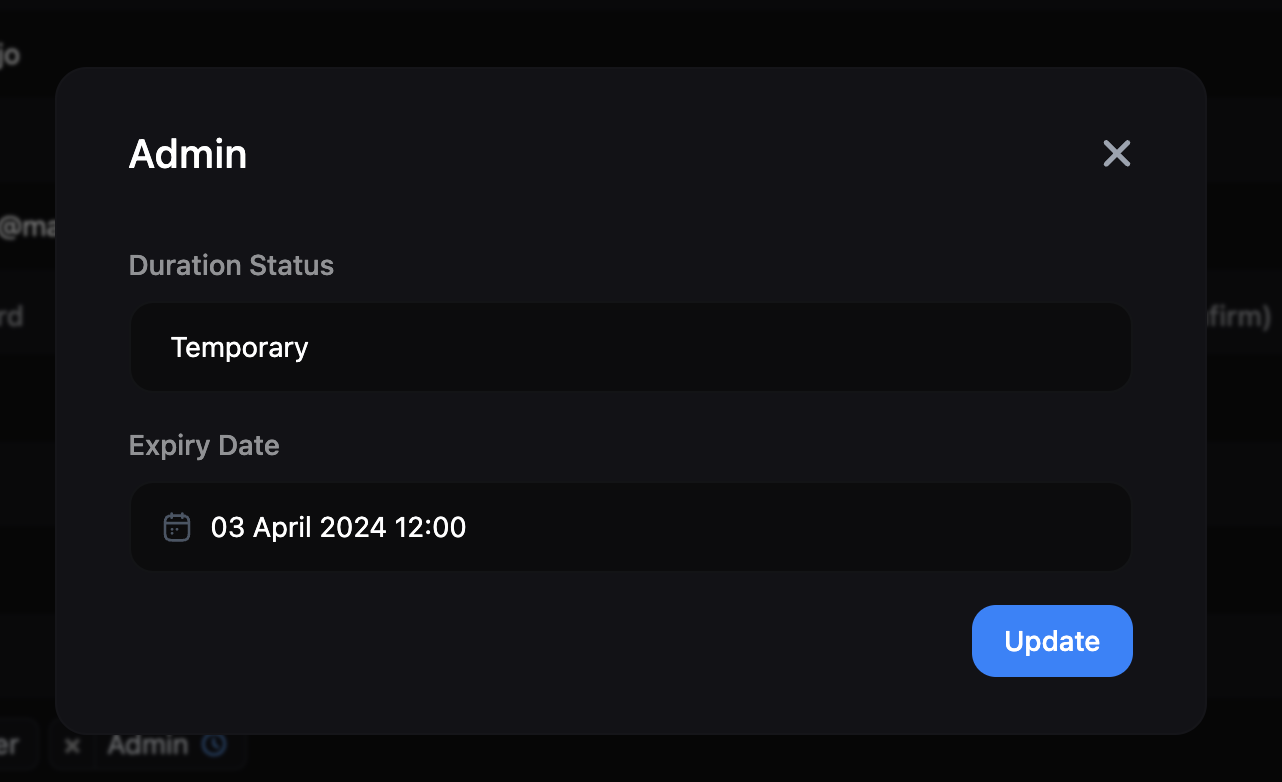
How to add a temporary role to a user?
Go to Dashboard > User Management > Users > Edit User. Select the role from the Roles section and click the “Clock” icon. You can set the expiry date for the role here.
How to see user’s temporary roles?
Go to Dashboard > User Management > Users > Edit User. Here you can see the user’s temporary roles in the Roles section. You can also see the expiry date of the role by hovering over the “Clock” icon.
How to list and manage staff members?
Go to Dashboard > User Management > Staff to view the list of staff members.How to ban/unban a user?
Go to Dashboard > User Management > Actions > Ban User. Here you can ban/unban a user. Learn more about banning users.How to send credits to a user?
Go to Dashboard > User Management > Actions > Send Credits. Here you can send credits to a user. Learn more about sending credits.You can only send credits to a user if the Credits module is enabled.
How to give a item to a user?
Go to Dashboard > User Management > Actions > Send Chest Item. Here you can give a chest item to a user.You can only give a chest item to a user if the Chest module is enabled.