Listing Types in the Dashboard for Products
Two listing types are available:
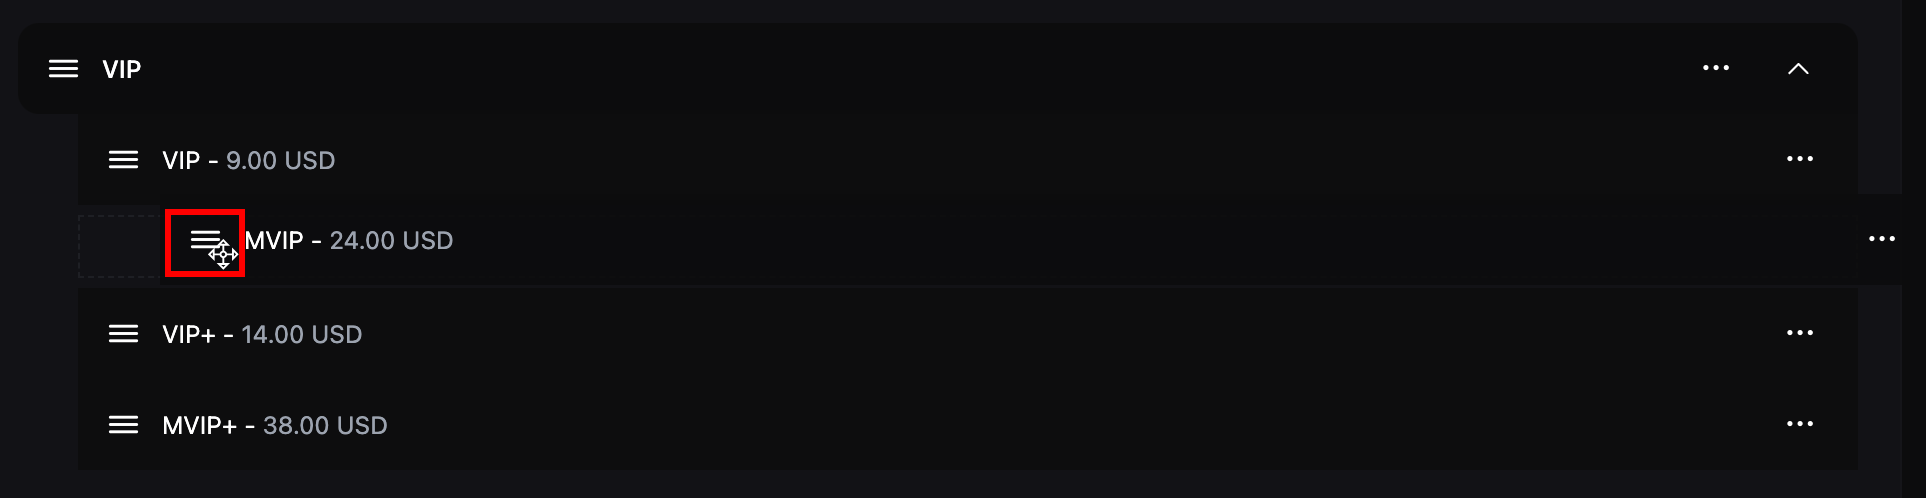
- Default Listing: Products are listed in a tree view in the default listing.
To change the order of products or categories, simply drag and drop them using the drag handle (three-line icon).
- Table Listing: Products are listed in a table view in the table listing.
How to create a product?
Go to Dashboard > Store > Products > Add New. You can add a product by providing the following information:
- Name: The name of the product.
- Category: The category to which the product belongs.
- Description: A brief description of the product.
- Image: An image that represents the product. You can choose from our free image library or upload your own.
- General Tab:
- Show in Store: Enable this option to display the product in the store.
- Is featured product?: Enable this option to mark the product as featured. Featured products are displayed on the Checkout page.
- Give Role: Select a role to give to the user when they purchase the product.
- Priority: The priority of the product in the store. The product with the highest priority will be displayed first.
- Duration Status: There are three options available:
- Lifetime: The buyer will have the product forever.
- Temporary: The buyer will have the product for a limited time. You can set the duration in days.
- One Time: The buyer will have the product for a single use.
- Pricing Tab:
- Price: The price of the product.
- Discount: Enable this option to offer a discount on the product.
- Discounted Price: The discounted price of the product.
- Discount Duration Status: You can apply either a Permanent or a Temporary discount. If you select the Temporary discount, you will need to provide the following information:
- Discount Duration: Choose an end date and time for the discount from the calendar.
- Limiting Tab:
- Stock: Enable this option to limit the stock of the product.
- Stock Quantity: The quantity of the product in stock.
- Restrictions Tab:
- Required Products: You can set the products that are required to purchase this product.
- Only require the customer to have purchased one product from the selected list: Enable this option to require the customer to have purchased only one product from the selected list. If you disable this option, the customer will need to have purchased all the products from the selected list. If you don’t select required product, this option will be useless.
- Variabes Tab:
- Variables: You can select the variables you created on the Dashboard > Store > Variables page for this product. It supports multiple variable selection.
- Minecraft GUI Tab:
- Show in Game: You can choose to show or hide the category in the game.
- GUI Title: You can set a title for the category in the game.
- GUI Description: You can set a description (lore) for the category in the game.
- GUI Item: You can select an item to represent the category in the game.
- GUI Item Model ID: You can set a custom model ID for the GUI item.
- Commands: The commands that will be executed when the product is purchased. You can add multiple commands by clicking the Add button.
- Command: The command that will be executed. To replace the player’s name in the command, use
%username%.
- Server: The server on which the command will be executed.
How to order products or categories?
You can order products or categories by dragging and dropping them using the drag handle (three-line icon).
You cannot change a product’s category by dragging it into a different category. Instead, go to the product’s edit page.